Blog Ultra Rare Limited Production Factory Vehicles That Have Been Given a Second Life! February 10, 2016
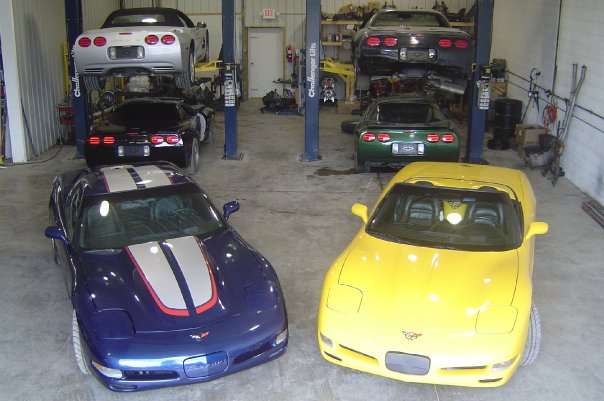
Cleveland Power & Performance is proud to offer E-Bay’s FIRST AND ONLY COMPLETE Pontiac GTO LS1 lit rear bumper wall art decor! March 26, 2015
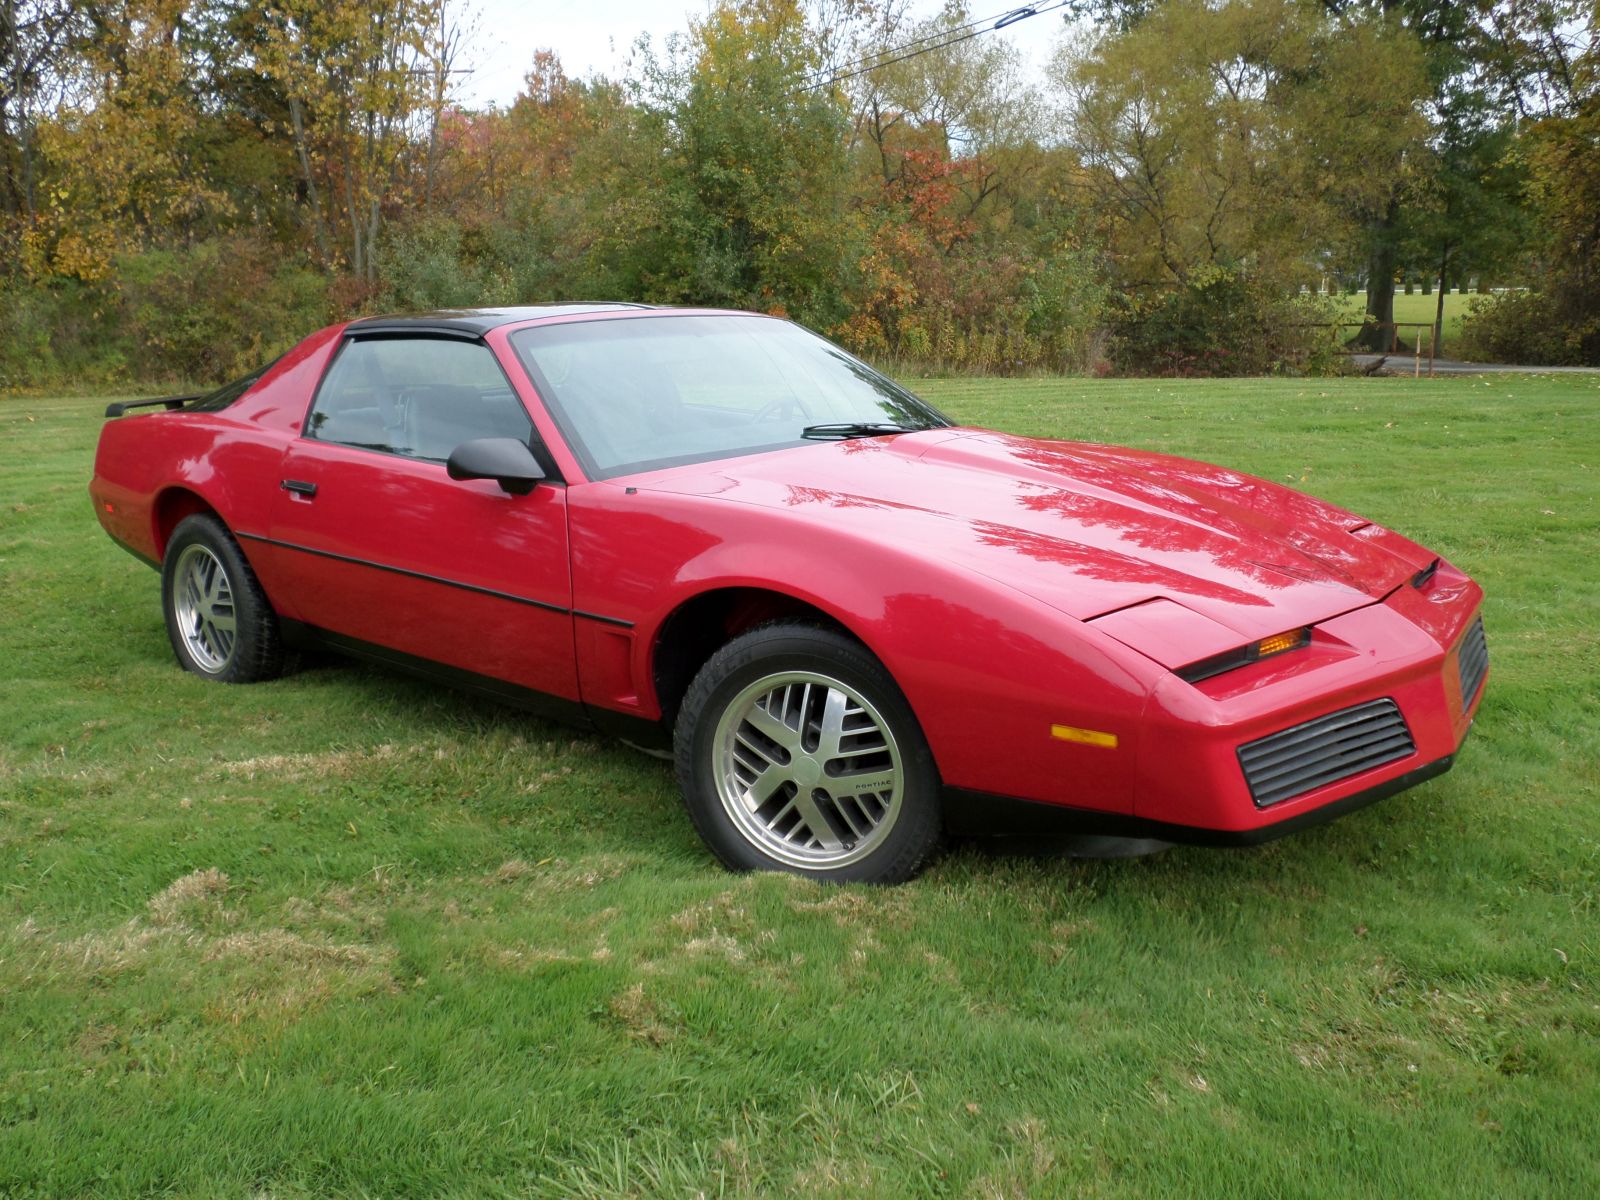
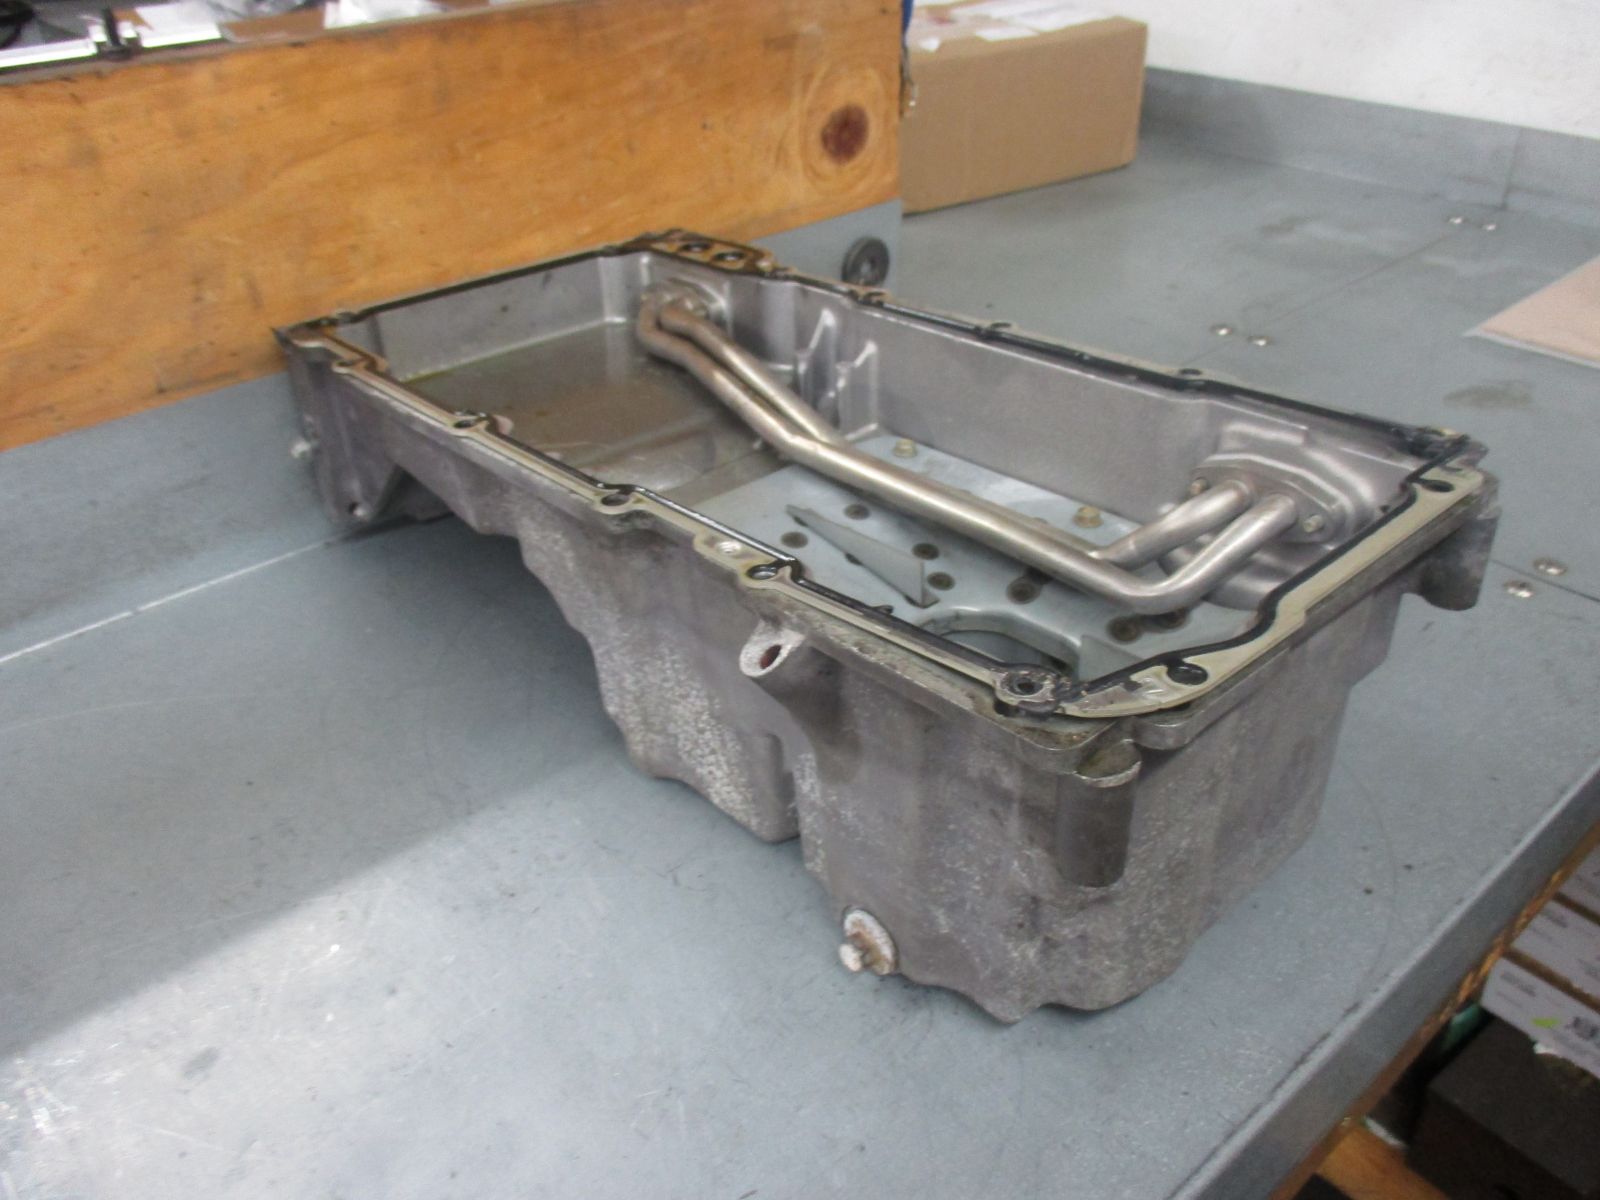
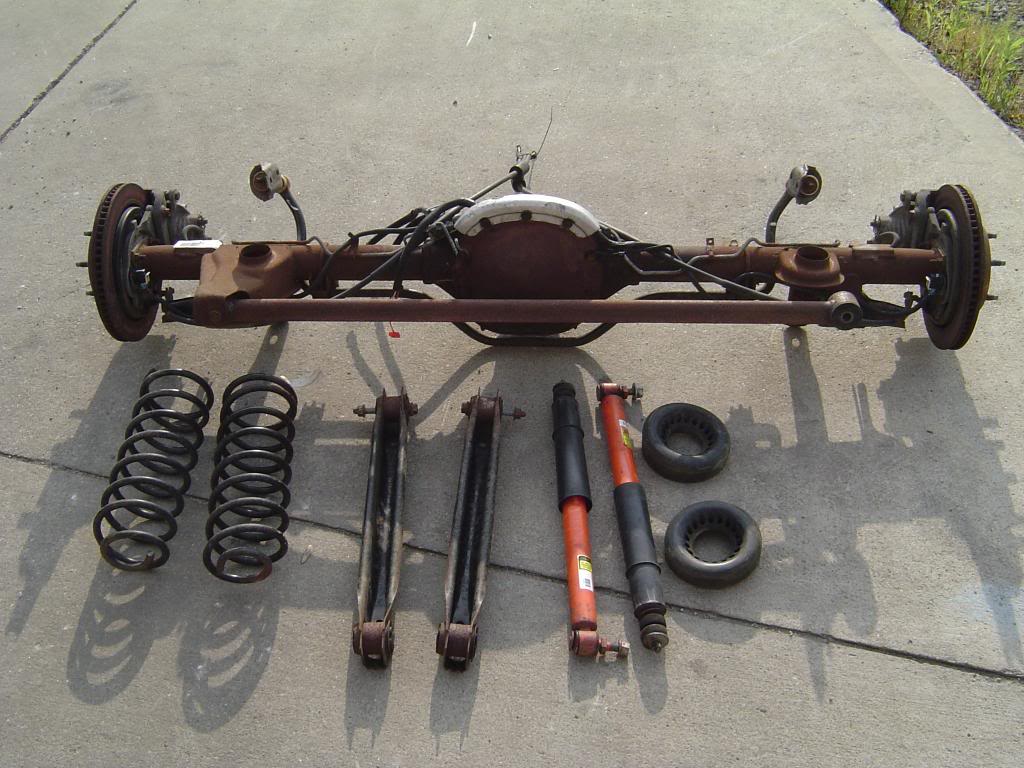
Cleveland Power and Performance Specialties 83 Trans Am custom build with Fourth Gen LS1 swap Part II February 20, 2015
Cleveland Power and Performance Specialties 83 Trans Am custom build with Fourth Gen LS1 swap December 24, 2014