Posts Tagged ‘C5 Corvette’
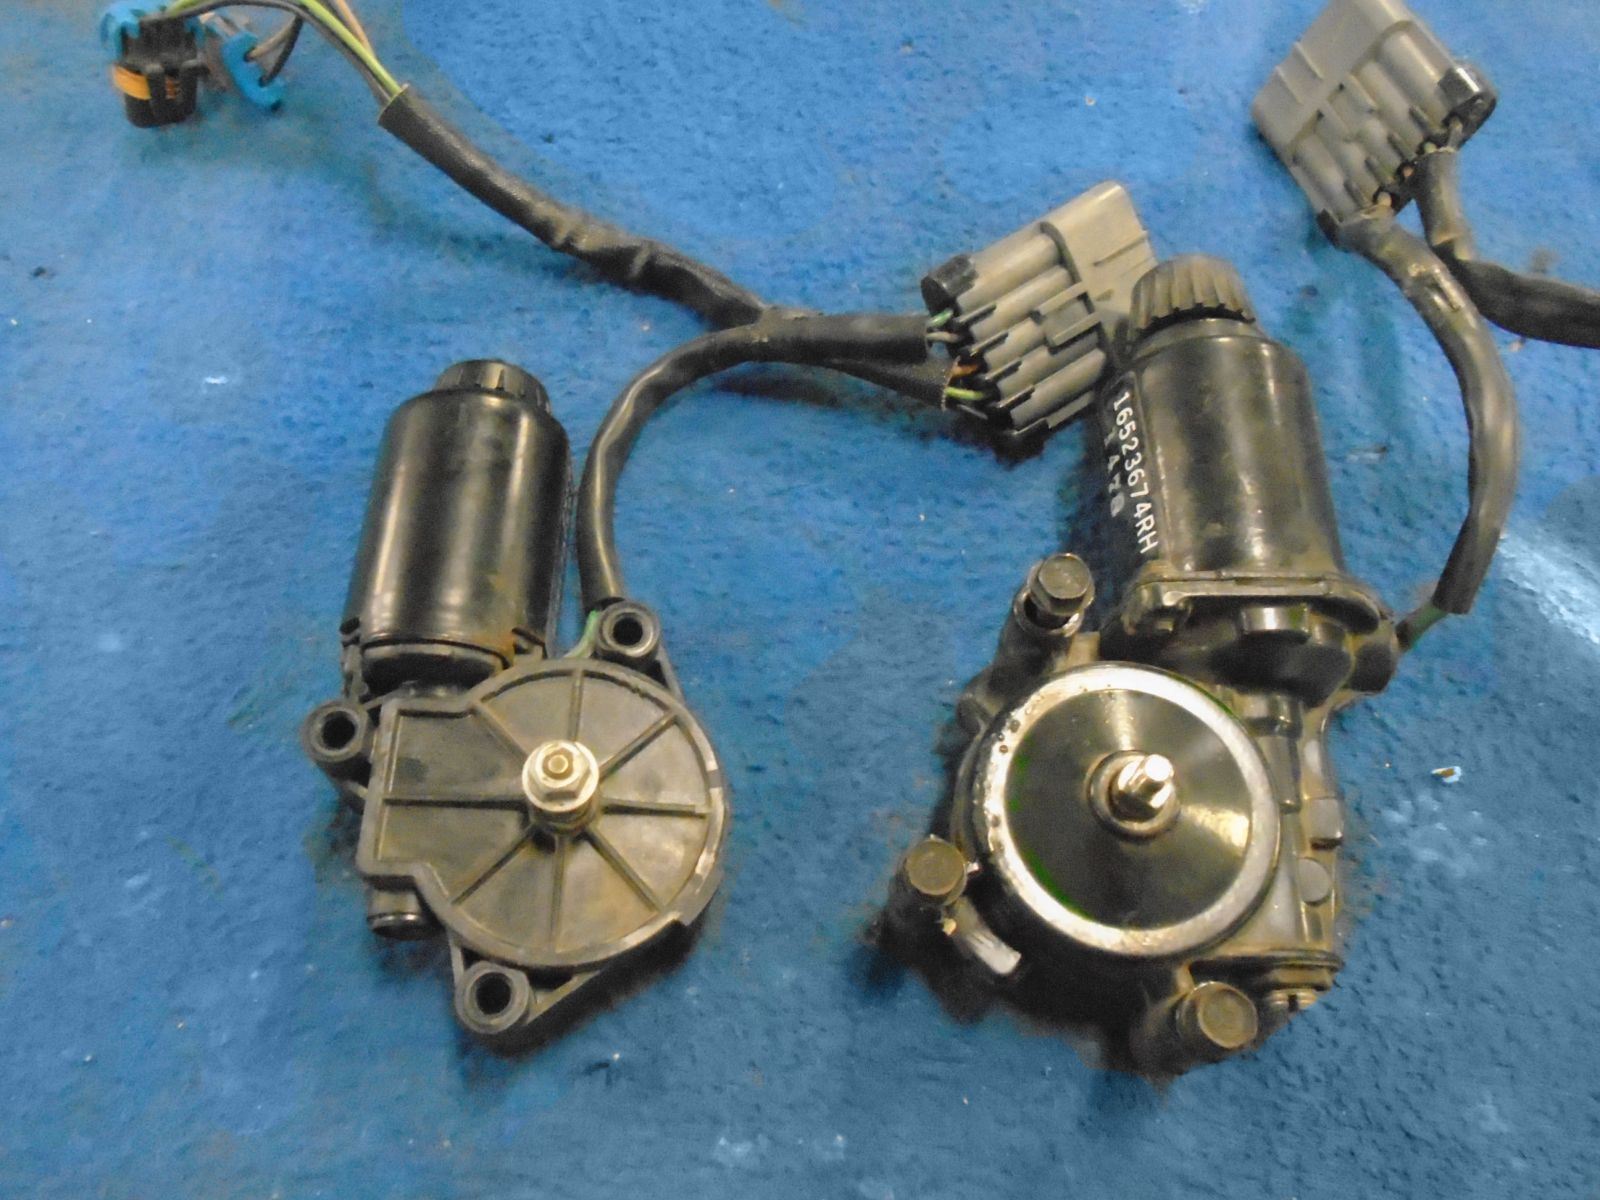
97-04 Chevrolet C5 Corvette Headlight Motor Difference
Today we will be talking about the differences in the Chevrolet C5 Corvette headlight motors. The headlights themselves are direct fits for all 1997-2004 models but the headlight motors are different for the 1997-1999 and 2000-2004 models.
With the head light motors there is not much of a difference between the two interchanges. The 1997-1999 motors are made of plastic for the most part, were as the 2000-2004 style is mostly made of metal.
All of the plugs are the same between the two styles of headlight motors, but the bolt holes for mounting them to the headlight bracket are different. Even though they mount different to the headlight assemblies, the bracket for the headlight it self mounts the same to the car.
So when you are replacing your headlights, you will be fine if you replace your whole headlamp assembly. But if you only need to replace your headlight motor, be careful and make sure it is the same style as the one you need.
As always, feel free to email or call us with any questions at clevelandpap@yahoo.com and 866-236-5031.
Thanks for reading!
1998 Chevrolet C5 Corvette LS1 Intake Gasket Swap
Today We will be going over how to change the intake gaskets on a LS1 Corvette.
The one shown is specifically a 1998 Chevrolet C5 Corvette.
The first step to this process is to remove the injectors, coil harness, PCV hoses, and the EVAP lines.
From there you will need to removed the 4 bolts holding on the fuel rail. You will also need to take the bolts out from the throttle bottle and remove it.
The next step will be to remove the 10 bolts holding on the intake and lift the intake off of the motor. This is the time that you will also wish to clean the section were the intake sits as there may be some grime and dirt which settled under it.
( make sure the clamp that holds the coolant bypass hose is removed )
From here the intake is off of the engine and you can remove the old seals and foam pads as shown. At this time we suggest that you clean the intake while it is off.
At this point you will want to pull out the new gaskets and pads to install. You want to make sure that all the gaskets as set in right and are flush.
With the gaskets and foam pads installed you will want to set the intake on the engine.
You will want to put lock tight on the bolts before you install them.
Now with all the bolts in place you will want to torque them all down to 44 to start. Once they are all at 44 you will need to re-torque them down to 89 inch pounds.
Now with the intake back, you may want to put a new gasket onto the throttle body while you have it off.
Once that is done you will need to install the throttle body, fuel rail, hoses, and lines that were taken off at the start.
With that the intake is all reinstalled with the new gaskets and torqued to spec.
As always, fell free to email or call us with any questions
Clevelandpap@yahoo.com and 866-236-5031
Thanks for reading!
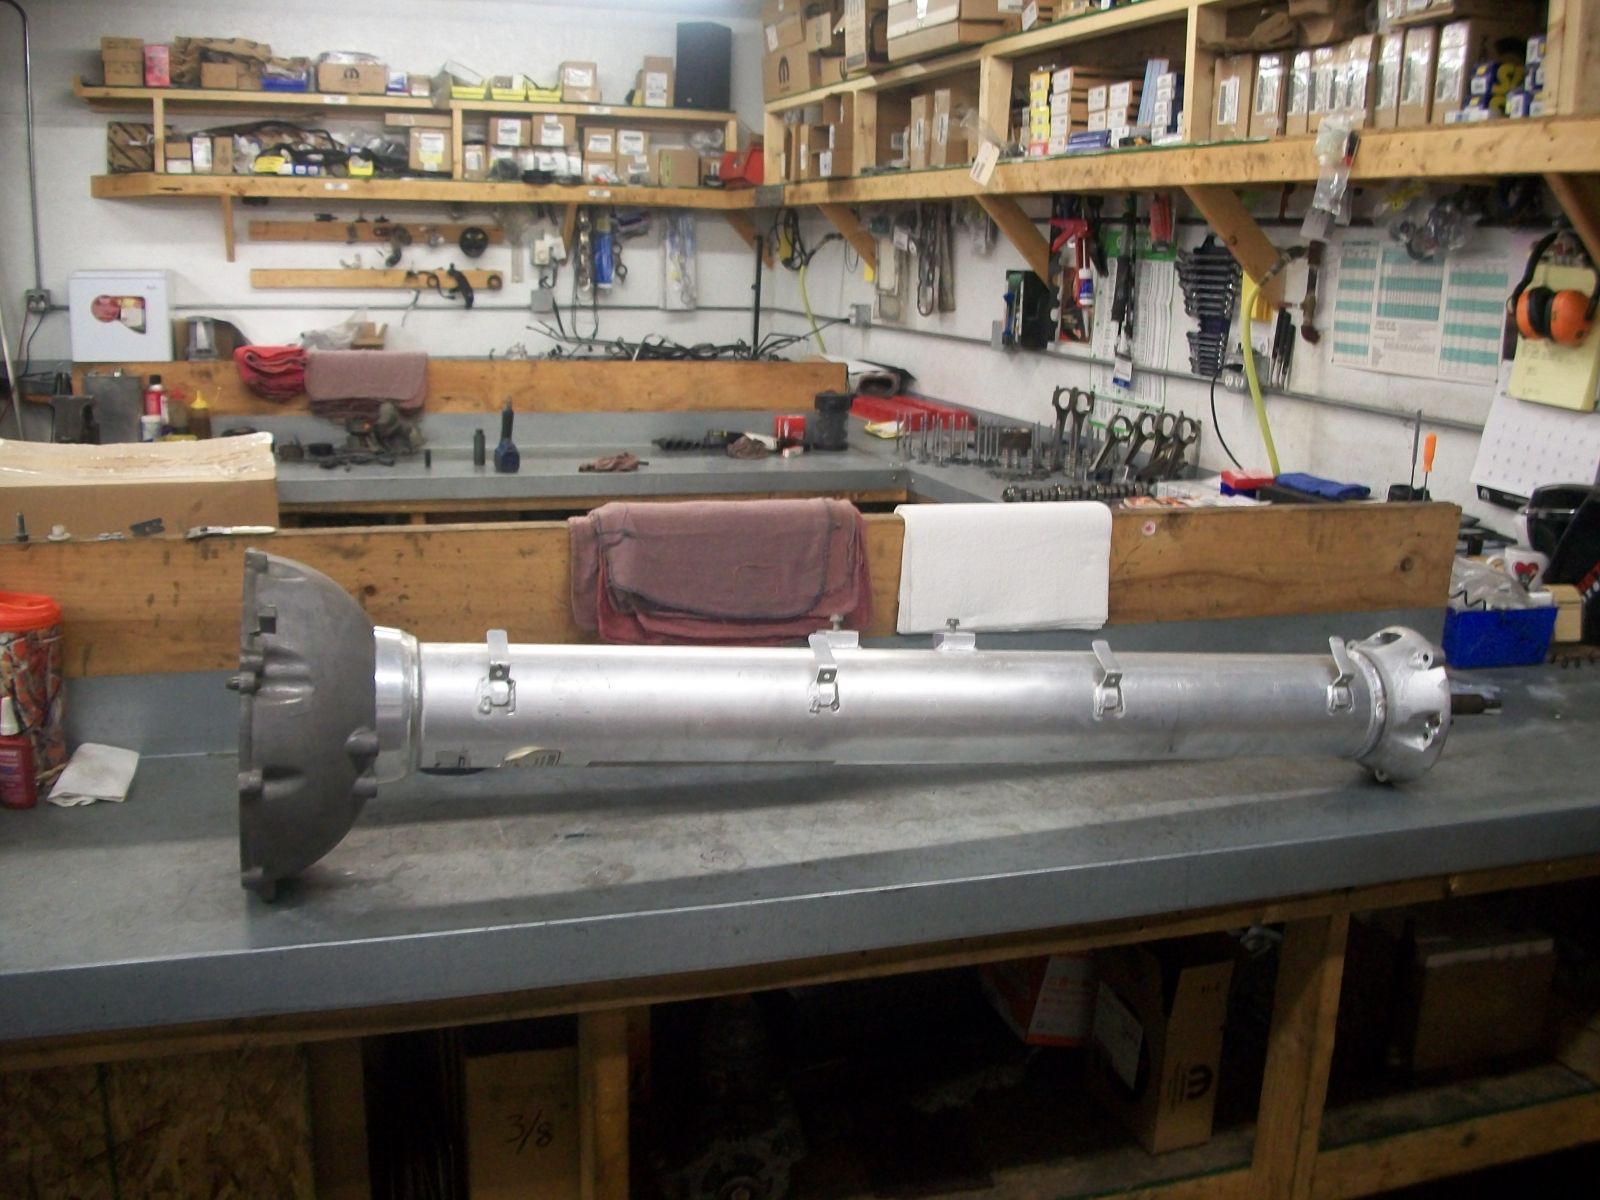
1997-1999 Chevrolet C5 Corvette Manual Torque Tube 10MM Bushing Swap
Today We will be going over what you need to do to swap your 10mm bushing inside of any 1997 to 1999 manual Chevrolet C5 Corvette torque tube.
First you will need to disassemble the torque tube, to do so just follow these steps.
First you will need to remove the bolts from the rear bell housing at the back of the part. Where the Bolts are located are highlighted in blue.
Once this is done you will need to pull the housing of the torque tube off.
From here you will need to separate the drive shaft from the rear bell housing and the input shaft. There will be three ( 3 ) bolts through the bushing that you can reach.
Once the drive shaft is by itself you can then access the other three (3 ) bolts holding the bushing on.
Now that the torque tube is apart and the bushing is now removed you can begin to install the new bushings.
First you will need to start to bolt on the new bushing on to the drive shaft and input shaft. You can throw away the old bushing at this time as they are no longer needed.
From here the next step will be to torque down the bolts through the bushing to 66.0
Once all the bolts are torqued down you will need to reinstall the drive shaft into the rear bell housing.
Now the final step is to slide the torque tube housing back over the drive shaft and bolt it on to the rear bell housing.
At this point your torque tube is ready to be reinstalled in your Chevrolet C5 Corvette. As always, fell free to email or call us with any questions
Clevelandpap@yahoo.com and 866-236-5031
Thanks for reading!
1999 Corvette Run and Drive Donor Go Kart
As many of you out there already know, we here at Cleveland Power and Performance love offer our Corvette drive-lines in a number of unique and interesting ways. Check out this blog to see a 1999 Corvette Run and Drive Donor Go Kart come to life. This donor has 65k miles on it ans features an auto transmission.
Over the years we have done a ton of these Corvette Go Karts and customers all over the world have purchased them for their custom builds. We have seen these donor in everything from kit cars to first gen f-body builds.
These Corvette donors start off as wrecked cars that we bring in from salvage auctions. If the car has minimal or no frame damage than it is the perfect candidate for a donor. Here are some pictures of the 99 Vette as it arrived here at our facility.
When we got the car in we racked it on a lift to inspect the frame and suspension and we drained the fluids to inspect for contamination. All of the fluids checked out good and the frame was in decent shape so we decided to proceed with this Vette as a donor.
The donor/go kart process begins when we pull all of the exterior fiberglass off the car. The idea is to leave the essentials to build a “go fast” car.
On this particular car, a few area needed a little work to bring it up to our standards for sale. The seats were in poor condition and were removed to be rebuilt to insure that all functions worked properly.
Also, the front bumper bar had some dings and dent in it so it was removed and we welded an undamaged on onto the frame in its place.
Once the car has interior has been installed, the fluids have all been freshened up and the car has been clean she is ready for final pictures and to be offered for sale. Here are some pictures of the final product.
This donor is currently available for sale. Please give us a call at 866-236-5031 with any questions or comments.
-Tim.